Archive
Creating an Active Directory Domain on Windows Server 2012
I am back again at the task, which I have likely performed too many times – that of creating a new Active Directory domain (and a domain controller) to join a set of virtualized lab machines to play around with. Only difference being, this time it is on Windows Server 2012. The overall experience is much the same with some minor differences.
This article is an exceptional resource for learning how to do this. All I do here is simplify it to the bare bones linear procedure required for the mentioned purpose.
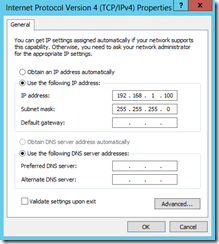
I am doing this on a Hyper-V virtual machine hosted on a Windows 8 based Virtualization Server. The VM has 512 MB of RAM allocated and Windows Server 2012 was installed and a few networking related pre-requisites tasks were checked off in readiness for this. Most importantly, the virtual machine was set up to use a virtual switch created on Hyper-V to allow communication between all VMs connected to it. A static IP was assigned to the machine.
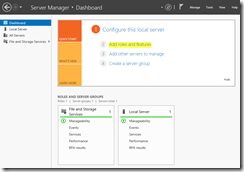
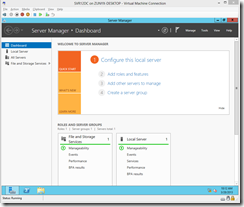
Started with the new Server Manager dashboard and chose to "Add roles and features"
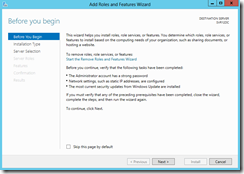
The friendly Before You Begin screen that I always skip but not by default because it gives me quick link to the Remove Roles wizard. Clicked on Next >.
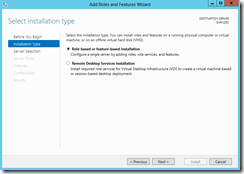
On the next screen you get to choose to install the role or feature on choose to install remote desktop services (RDS) which allows you to connect to virtual or session-based remote desktops where efficient, centralized, pooling and management of resources can be made possible. To learn more about these options, refer to this TechNet Article. It is also important to note that RDS and AD DS cannot be installed on the same server.
Chose Role-based or feature-based installation and hit Next >.
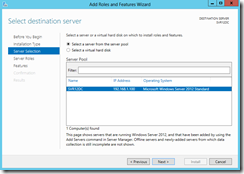
The following screen gives you the ability to pick a server from the pool. Since I have not added (and in fact do not even have to add) any other servers on this pool, I chose Next > to move on with the default selection. Adding servers to the pool will require going back to the Server Manager and choosing the option Add other servers to manage.
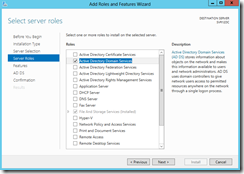
Next step, select to install Active Directory Domain Services.
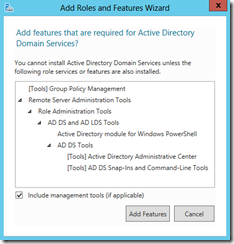
Upon selection, the wizard presents a list of additional features required to run AD DS. There is really no choice about this. If you want to install AD DS, these are required. You can arguably skip installation of management tools but really, why would you? Clicked on Add Features to move on.
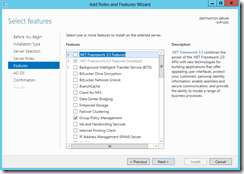
The following screen is the Add Features page and a couple are pre-selected – Group Policy Management and Remote Server Administration Tools. There are other eye-catching options but we shall not lose our focus here. Clicked Next > to move on.
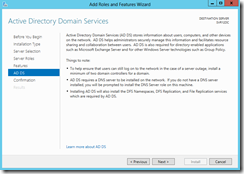
Some best practice guidance and pointers are presented. Important to note here is how the wizard tells you that you will be prompted to install the DNS role on the server during the process. Clicked Next > again.
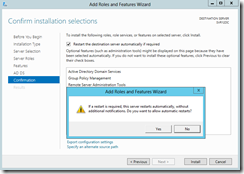
The next screen presents a summary of selections made. I selected to restart the server after installation if required and said Yes on the warning screen as well. I then went ahead and clicked Install to add the role.
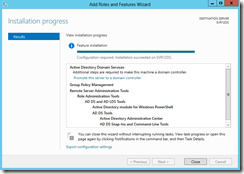
And done. Clicked on Close to exit the wizard.
But now we see this in Server Manager on the AD DS node. All we did was add the role. We did not configure the server as a domain controller (DC) and that’s what this is all about. Clicked on the More… link.
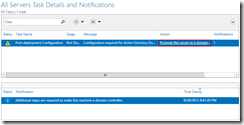
The below is what you are shown. The substitute to good old "dcpromo". Clicked on Promote this server to a domain…
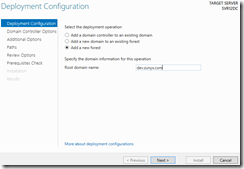
Since there is no existing setup, I added a new forest and chose a domain name to give it. Clicked Next >.
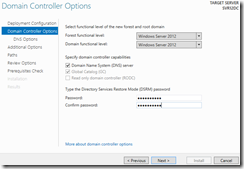
Quick notes on the next screen:
a. Chose no backward functional level compliance.
b. Selected to install the DNS Server role
c. The first DC in a forest is automatically a global catalog and cannot be read-only (no choice here).
Provided matching restore mode passwords and hit Next >.
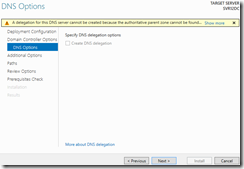
Since there is a no authoritative parent zone for the server, DNS delegation cannot be configured. For a localized environment, this is just fine so hit Next >.
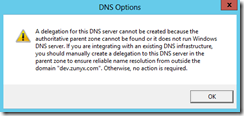
If you do choose in the above screen to see more information, the following is what you are presented. Essentially, this domain is not discoverable from anywhere and for what I am doing, that is just fine.
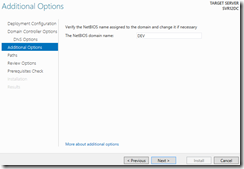
After jumping across those hurdles above, you end up on this screen where you choose the NETBIOS name for the domain. Was happy with the selection, so hit Next >.
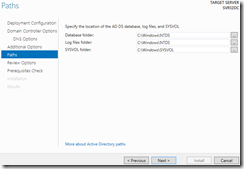
The next screen is about where the files will go. Never messed with this before. No reason to start now. Hit Next >.
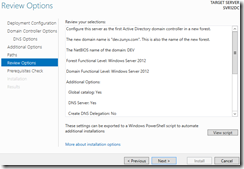
The following is a review screen. You can click on View script to view the PowerShell to run the configuration. I always keep the PowerShell even if I don’t intend to run it.
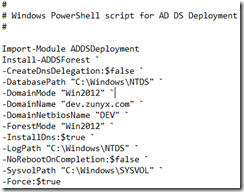
Here’s the PowerShell.
I hit Next > on the wizard to continue without the script.
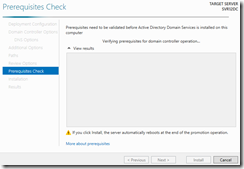
A prerequisite check is performed.
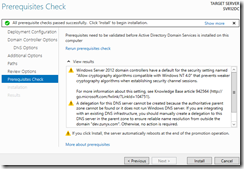
A couple of warnings – one we have seen before but overall, ready to move ahead. Clicked on Install.
And since installation was successful, we need a computer restart.
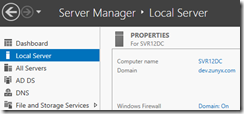
When back, the picture in Server Manager looks different. We have the roles added and the server is now a domain controller in the new AD forest I created.
That’s it for now. I have big plans for this server to be realized soon and will probably post my notes on it.
Installing Windows Server 2012 on a Hyper-V virtual machine
Installing Windows Server 2012 is a pretty straight-forward exercise akin to installing any of the latest Windows client operating systems. In this post the focus is on installing the OS on a Hyper-V virtual machine which once the disk is correctly mounted, is exactly the same as installing on a physical machine.
If you do not have a Hyper-V virtual machine yet and would learn how to create one, refer here. If you already have a virtual machine with a blank virtual hard drive ready for installation, the following would be the step by step method.
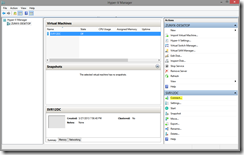
Within Hyper-V manager, selected the virtual machine target from the list and clicked on "Connect".
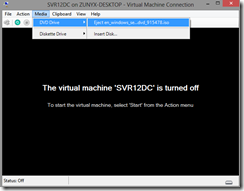
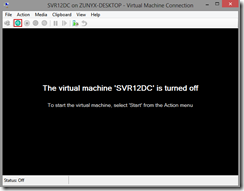
And once the VM window popped up as below, verified that the ISO file containing the OS I am about to install is still mounted as a virtual disk on the VM
Since this is good, clicked on the "Start" button to launch it.
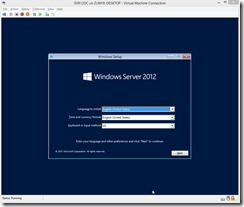
If the ISO is a good bootable OS disk the following screen should appear indicating launch of the Windows Server 2012 installer. It is now about making the right selections and getting the OS installed. Clicked "Next".
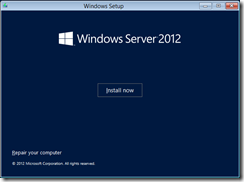
Clicked "Install Now"
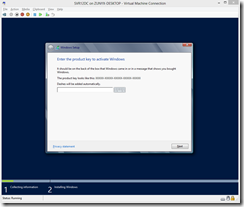
Entered the product key and clicked "Next".
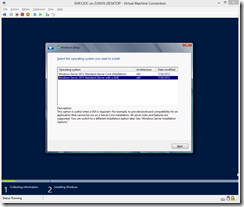
And since I am not cool enough yet to work just with the Core, selected "Server with a GUI" option and hit "Next".
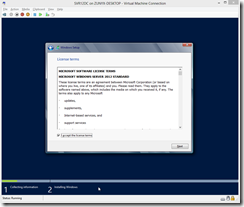
Next screen, License Terms – read (skimmed really), accepted, clicked "Next".
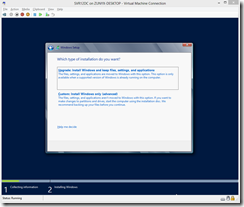
Next, you get to select the kind of installation you want to proceed with. You have two options one of which – "Upgrade" is not valid because it is only applicable when there is an existing version of Windows running on the machine on which you’re currently running the installer. Since we started with a blank VM, there is nothing to overwrite. Therefore, the obvious choice to make here is "Custom". Clicked on the "Custom" button to move on ahead.
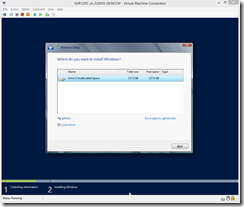
Due to the simplicity of what this machine will need to do, I have desisted from my favorite pastime of making drive partitions during OS installation and chosen the virtual hard drive in its entirety to serve as the OS partition. Clicked "Next".
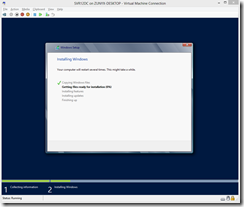
And off we go. The installation procedure could take a while. In my case it took 7 minutes.
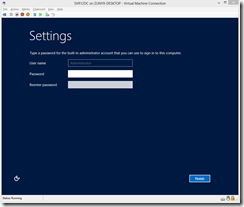
When done, you get to provide the Administrator password for the machine. Now this is something I have done in the past and forgotten to set the domain policy later on to not expire. It gets painful when the password expires and you need to change it. This time hopefully, I will remember to configure and document the steps to set the administrator password not to expire. Typed in a safe password here and hit "Finish".
Done.
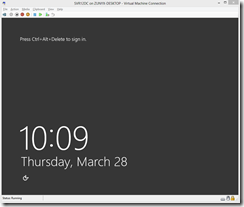
Logged in for the first time and here’s what we have
Turning on the Desktop Experience feature in Windows Server 2012
For certain video related features such as automatic generation of thumbnails in SharePoint Server 2013, it is required that the Desktop Experience feature be installed on Windows Server 2012. The Desktop Experience feature consists of such tools as Windows Media Player, AVI support for video playback etc. and it is likely that one or more of these is used in thumbnail generation although I have no way to say for sure. For a complete list of items included in the Desktop Experience feature, refer here.
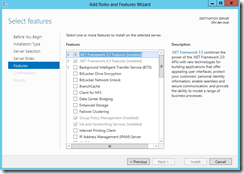
In any case, I tried to go ahead and use Server Manager to add the feature like I used to do with Windows Server 2008 R2. What is surprising is that in Windows Server 2012, this feature is not listed among features that can be added through Server Manager.
After digging around a little bit, I found that you can use the Deployment Image Servicing and Management (DISM) tool to achieve this. To do this run the command prompt as an administrative user on Windows Server 2012 and run the following:
dism /Online /Enable-Feature /FeatureName:DesktopExperience /All
The "Online" switch enables the tool to target the running instance of the operating system instead of an image. The "Enable-Feature" command is self-explanatory. The "FeatureName" parameter followed by a colon is to be followed with the name of the feature which is, "DesktopExperience". The "All" switch specifies that all parent features of this feature also be installed.
After installation, the tool will prompt to restart the server. This can be suppressed using the /NoRestart switch at the end of the above string but it is recommended if you want to use the features to complete the installation process through a restart.
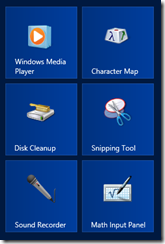
Once restarted, the following additional tiles should appear on the start menu indicating that the installation was successful.
